It’s December and it is time to show your holiday spirit if you haven’t been already! Being in my third trimester rules out a lot of clothing I have worn in previous years. Luckily there are a lot of sales going on at this time of year and tons of cozy clothing available making this last stretch more comfortable.

While there is no shortage of advertising for maternity clothing, I have mostly avoided buying them as not only are they expensive but I can’t see myself wearing most of them again. I have tried to shop at the same stores I typically frequent and just upsize as I figure I will be able to wear these again.
Here are some suggestions on clothing to buy while being pregnant for the BEST season of the year, where to find them, current sales and just ideas to help you find your pregnancy style!
For Comfort:
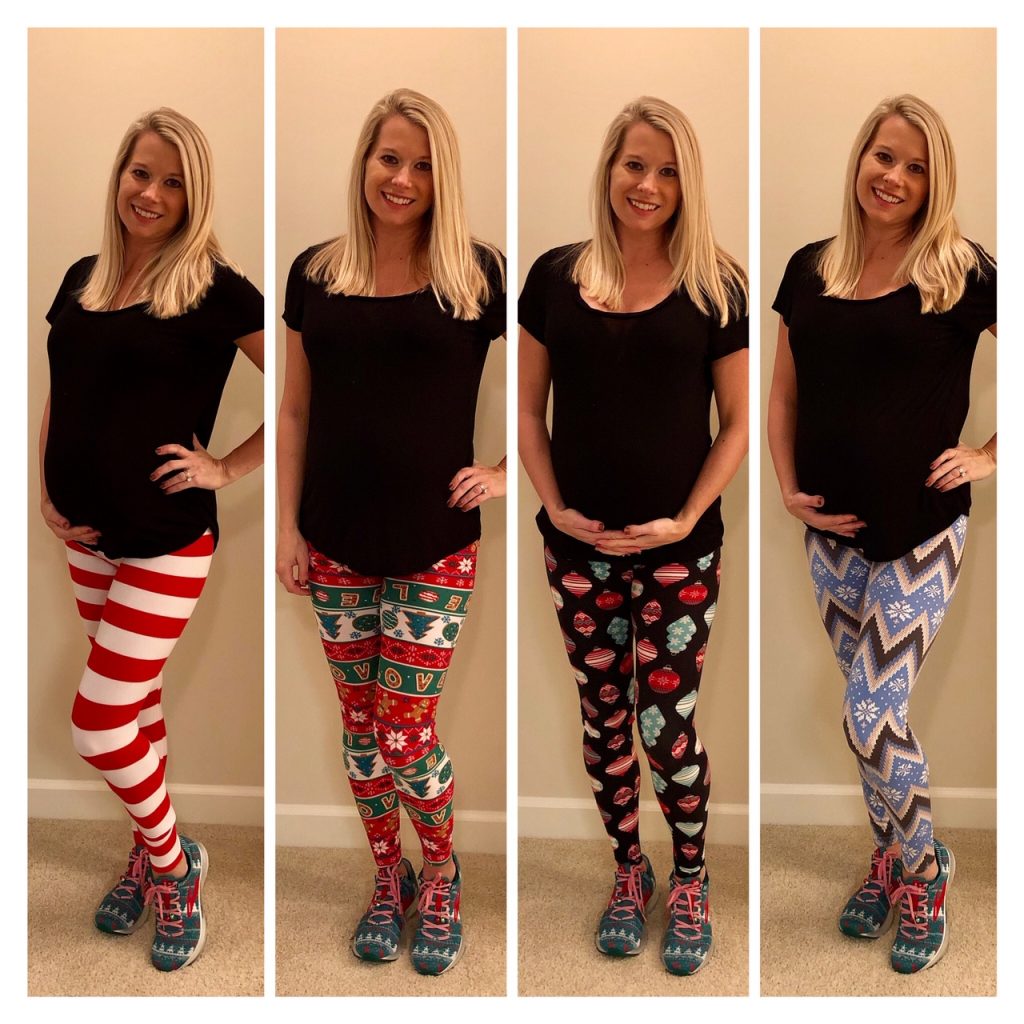
It’s time for leggings! Not only because my jeans haven’t fit in awhile… Although, I was able to rig them for a little while with the hair tie trick. Over the past month I have found several pairs of cheap holiday leggings. I bought 2 pairs from Marshalls for $7 and 2 pairs from JC Penney for $7 each. After wearing all of them the ones from JC Penney have held up better, and are my favorite. I have gotten so many compliments on these leggings and the best part is they are cheap, comfortable, and so festive. The leggings from JC Penney are the two pictures on the left and the ones from Marshalls are the two pictures on the right below.
I recently tried out a flannel shirt for the first time in years, after borrowing one at my Mom’s house. They are soooo cozy and I love the buffalo plaid look. Flannel couldn’t be more comfortable and is great for a pregnant belly! You can either button it or layer underneath and leave it open. Another great thing is most are not meant to fit snug to your body so you may only have to upsize by one size. I have the Red Plaid Flannel Two-Pocket Boyfriend Shirt from Express which I bought 50% off and that sale is still going on (picture on left below).

I am also loving cardigans! I layer underneath them to keep the bump warm. These are also great because you may be able to order a similar size to what you wore before pregnancy and thus be able to wear it again. My favorite for this season is the Sherpa Open Front Cardigan from Abercrombie (picture on right above). I bought it for 50% off and it is still on sale for $44. It is the coziest thing I own and feels like you are wrapped up in a blanket! Who doesn’t love Sherpa?
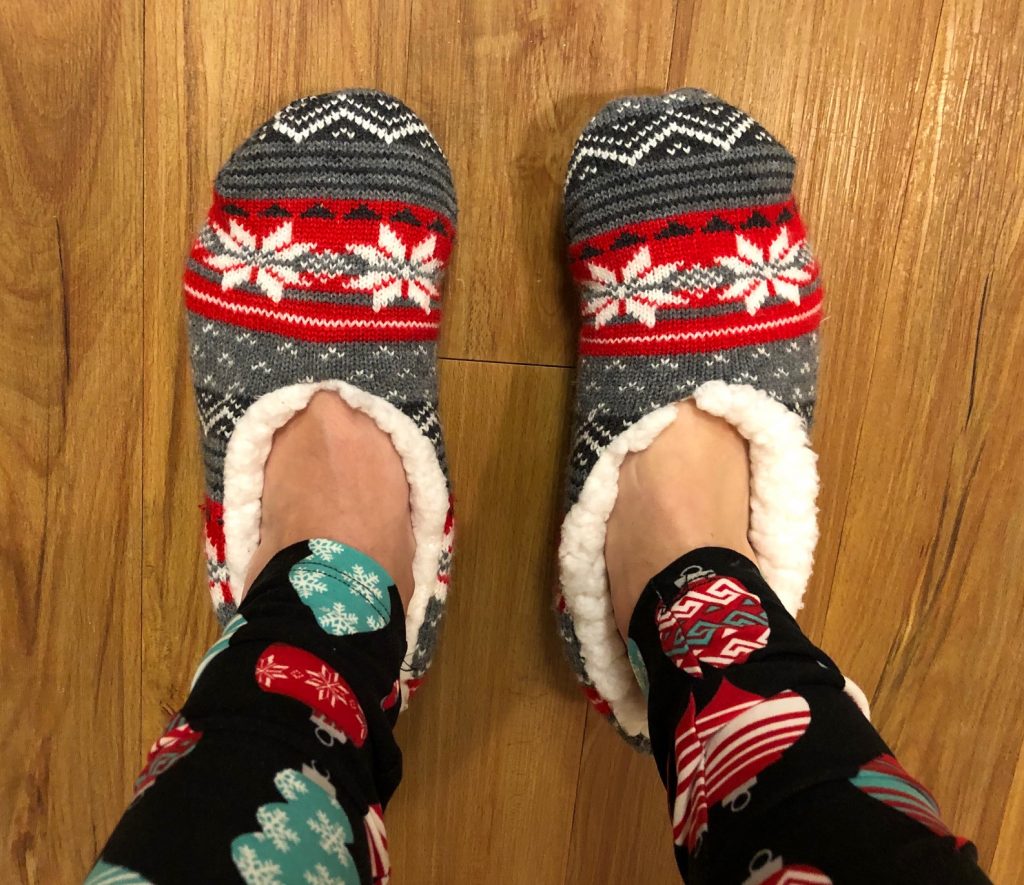
You can’t forget your feet now, to keep warm or just cozy try Field & Stream Cozy Cabin Slipper Socks from Dicks Sporting Goods. They are currently buy one get one free. They are super soft and warm. I have not only bought these for myself (one for home use and one to take to the hospital), but for my husband and a few others as gifts.
For special occasions and parties:
For special occasions or holiday parties, I again didn’t want to buy something I could not wear again. I ordered dresses from multiple stores trying to avoid maternity dresses, just upsizing but they typically didn’t come close to fitting or if they did they had the fit and flare style and just made me look double my actual size! Then I ran across the Reversible Floral/ Filigree Print Knit Sheath Dress at White House Black Market. In being a frequent shopper at this store these typically have a lot of stretch in them. Also, the reversible factor is awesome! You probably have more than one event to attend this season and you can save money by only buying one dress, yet having two separate styles to wear. The dress is $110, but the whole store is 40% off still and if you are a rewards member you get an additional 5% off at checkout. I was able to size up by one size and it fit perfect, just showing off the adorable bump. I paired one side of the dress with the Crystal-Bow Velvet Belt is also found at WHBM (right picture below). It has three different sizing snaps on each one, so I will be able to wear it again after pregnancy, I have it on the loosest snap. They sell the matching Crystal Bow Shoe Clips, but they are sold out online. You may still be able to find this in the store to add some bling to your outfit.
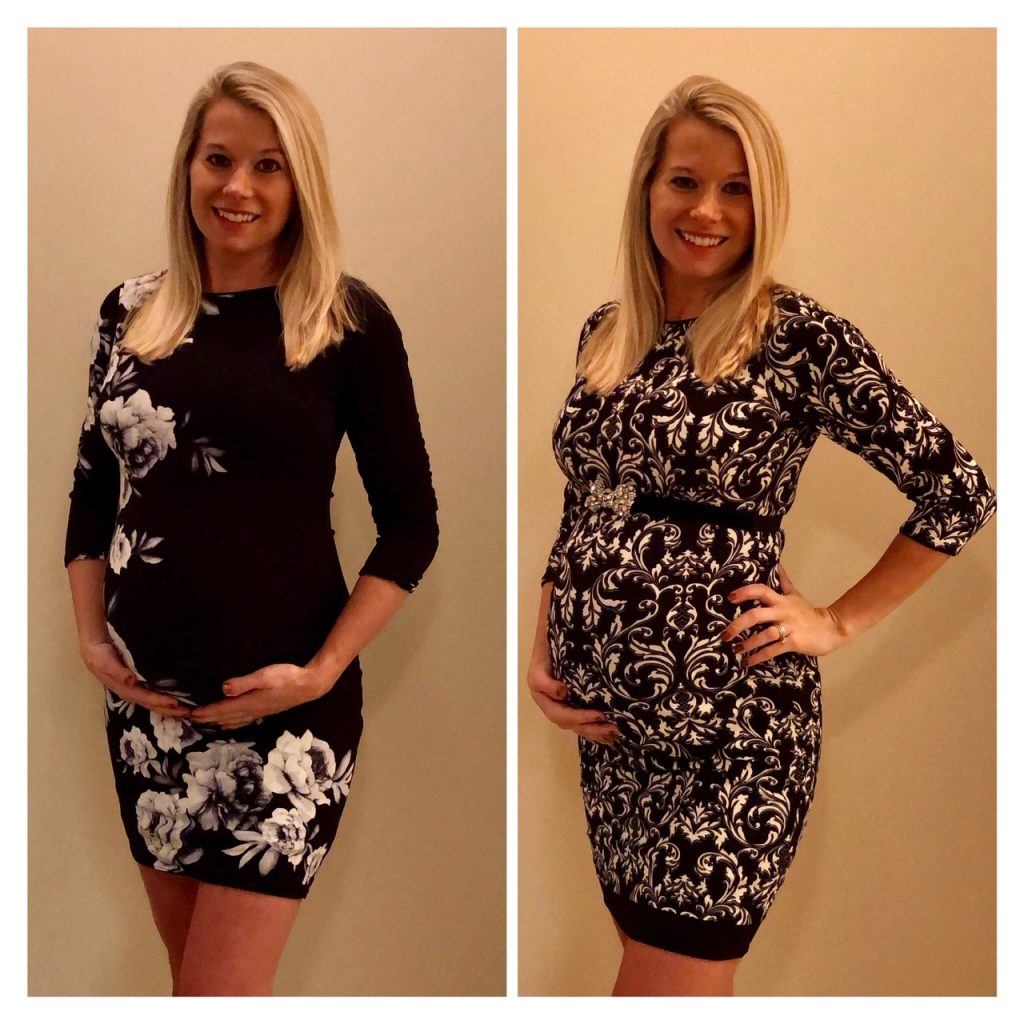
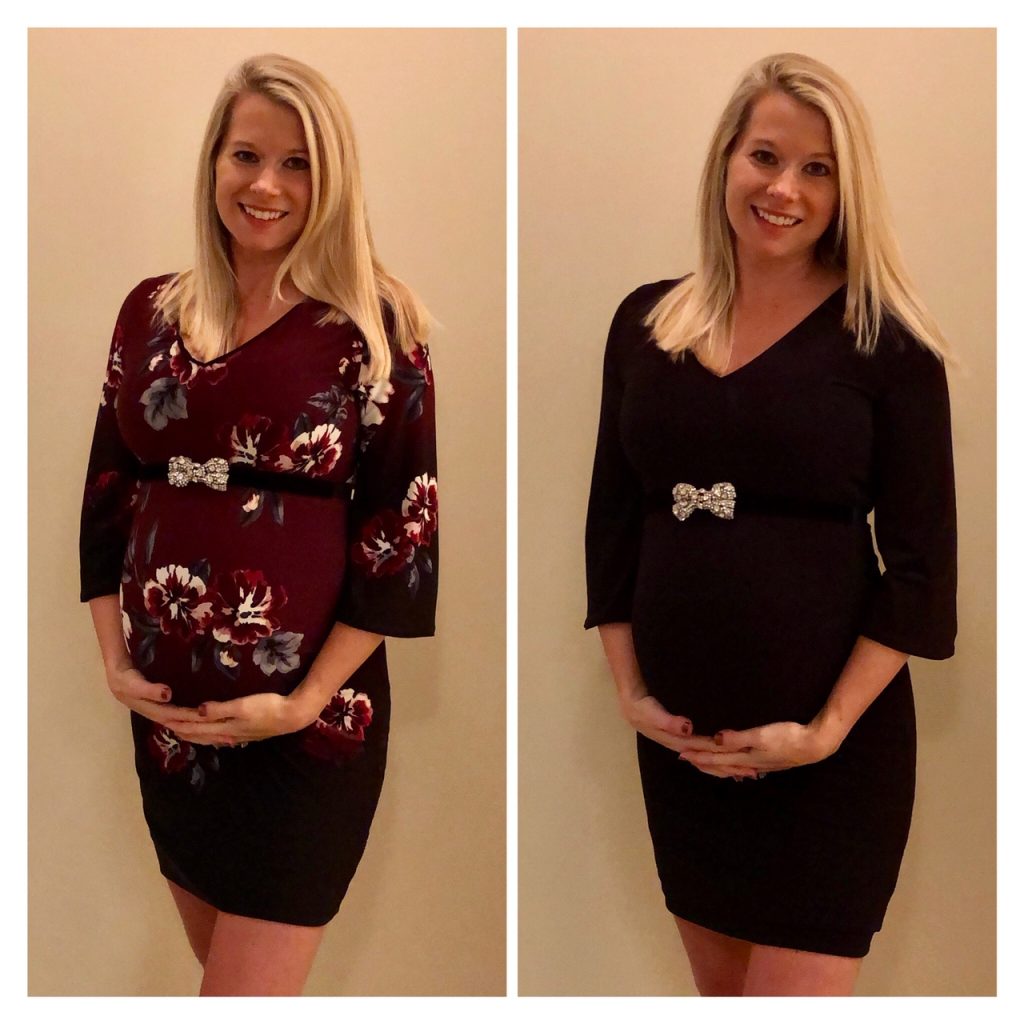
Another dress that is super cute and reversible is the Ultimate Reversible Floral/ Solid V-neck Shift Dress also found at WHBM. On the front side it has flowers along with a nice port color shifting to black at the bottom, perfect for the holiday season (left picture below). The other side is a solid black (right picture below). I also paired the crystal bow belt with both sides of this dress.
For those holiday runs/ walks:
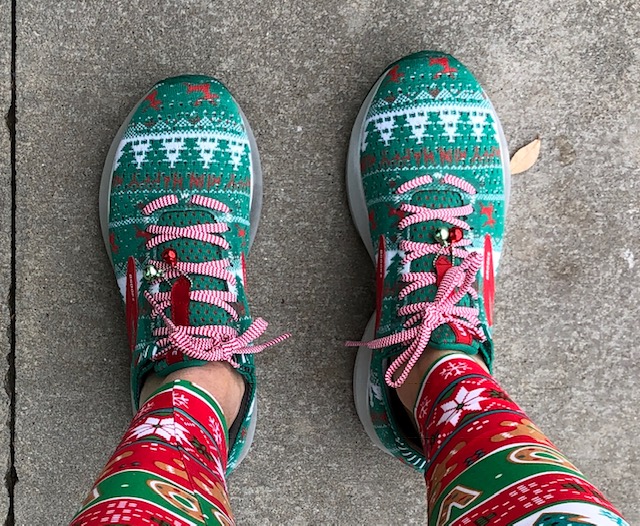
If you live in Atlanta or any big city you probably know about the customized gym shoes that different shoe companies make for big events. In Atlanta every year Mizuno makes a new pair of tennis shoes for the Peachtree Road Race which has 60,000 runners each year. I love unique shoes and just running shoes in general. My husband found the ULTIMATE Christmas tennis shoe for me…. wait for it… the Ugly Sweater Levitate 2 made by Brooks. The shoe not only looks amazing for the holiday season, but it jingles all the way. Literally there are small bells attached to the shoe laces. Don’t worry you can remove them, but I find it fun to leave them on. It’s always amusing to walk by someone and see the perplexed look and smiles while they try to figure out where the jingling is coming from. Every time I have worn these shoes, especially when paired with my cozy holiday leggings above I always get a smile from those at the gym or that I pass while walking, along with a “Don’t you look festive! Happy Holidays!” I bought these when they were 25% off from Dicks Sporting Goods, but other stores carry them too like Road Runner Sports.
For the scrappy:
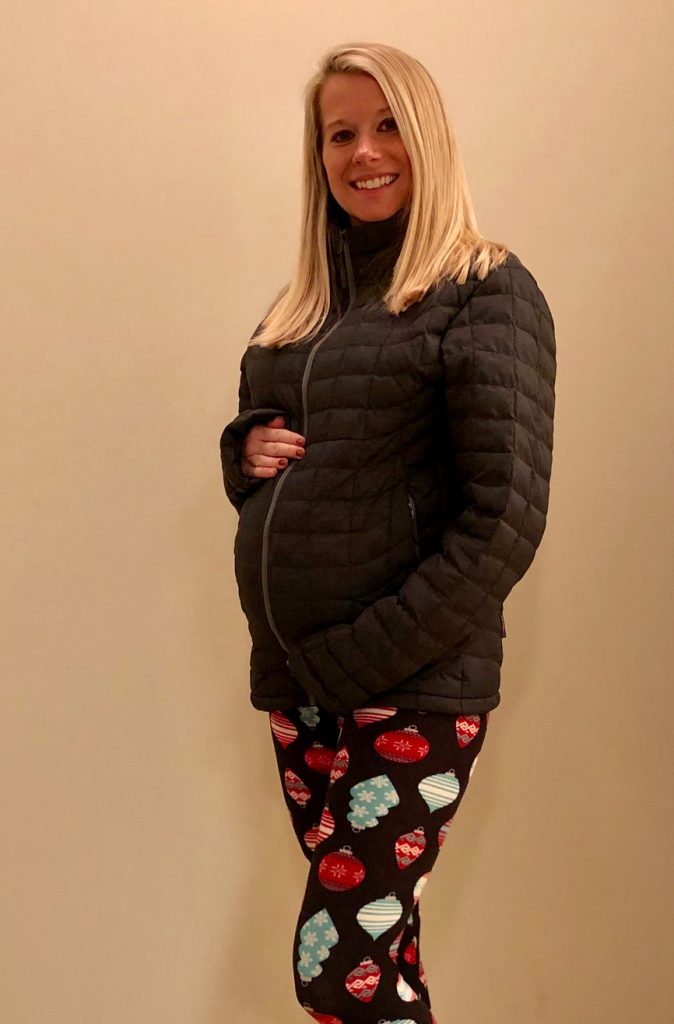
One issue I have run into is that I can’t button any of my winter coats! I also don’t want to go and buy additional coats and jackets unless I have to. They are expensive and I know I won’t wear them again if they don’t fit like my current ones do. Luckily I live in Atlanta and the weather has been very nice so I have gotten away with layering and wearing baggier sweatshirts that I owned previously. On the colder days you may be able to raid your partners closet to see if one of their coats fit. I have done this a few times and they actually fit perfectly and do not look bad at all, since they were a simple black bubble jacket. Try this before hitting the store for new jackets.
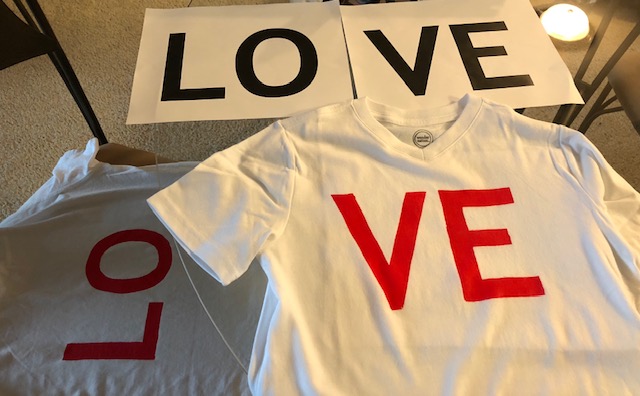
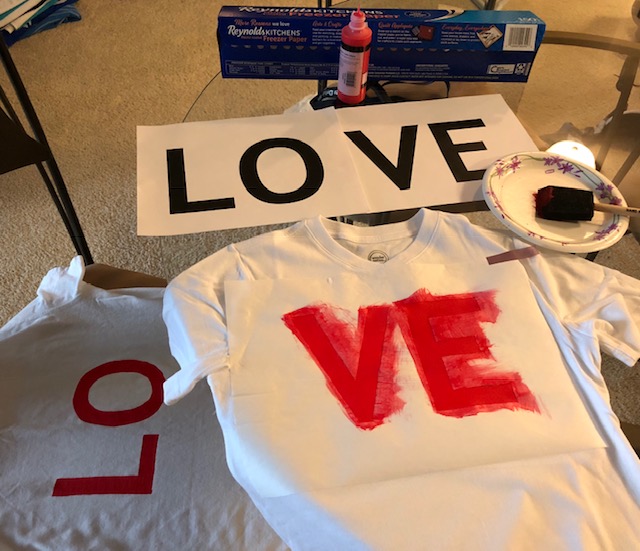
Happiest of holidays! Hope this gives you some additional ideas than just traditional maternity clothes.